Mindblown: a blog about philosophy.
-

Fit for the Future: Our Global Identity
When did you realize it was time for changes in your life? Those moments when you just knew it was time to shake things up to make your future align with the vision you’ve always had? That’s what we’re diving into in this blog. Four years ago, Skenit was born out of a need to…
-

Google I/O 2024 for Flutter Developers
Mobile app development is buzzing with excitement after the big announcements at Google I/O 2024. The latest updates for Flutter and Dart are here, bringing new features and improvements that promise to make multi-platform app development even better. Flutter 3.22: What’s New? The newest version, Flutter 3.22, brings exciting enhancements. Flutter continues to be a…
-

Unveiling the Dev Journey: Experiences in Product vs. Outsourcing Development
In the dynamic landscape of the Serbian IT community, our team finds itself at the intersection of two compelling narratives: outsourcing and product development. Beyond being an outsourcing hub, Serbia is home to numerous companies that have crafted their successful products, adding a unique vibrancy to the IT community. Right now, some of our team…
-
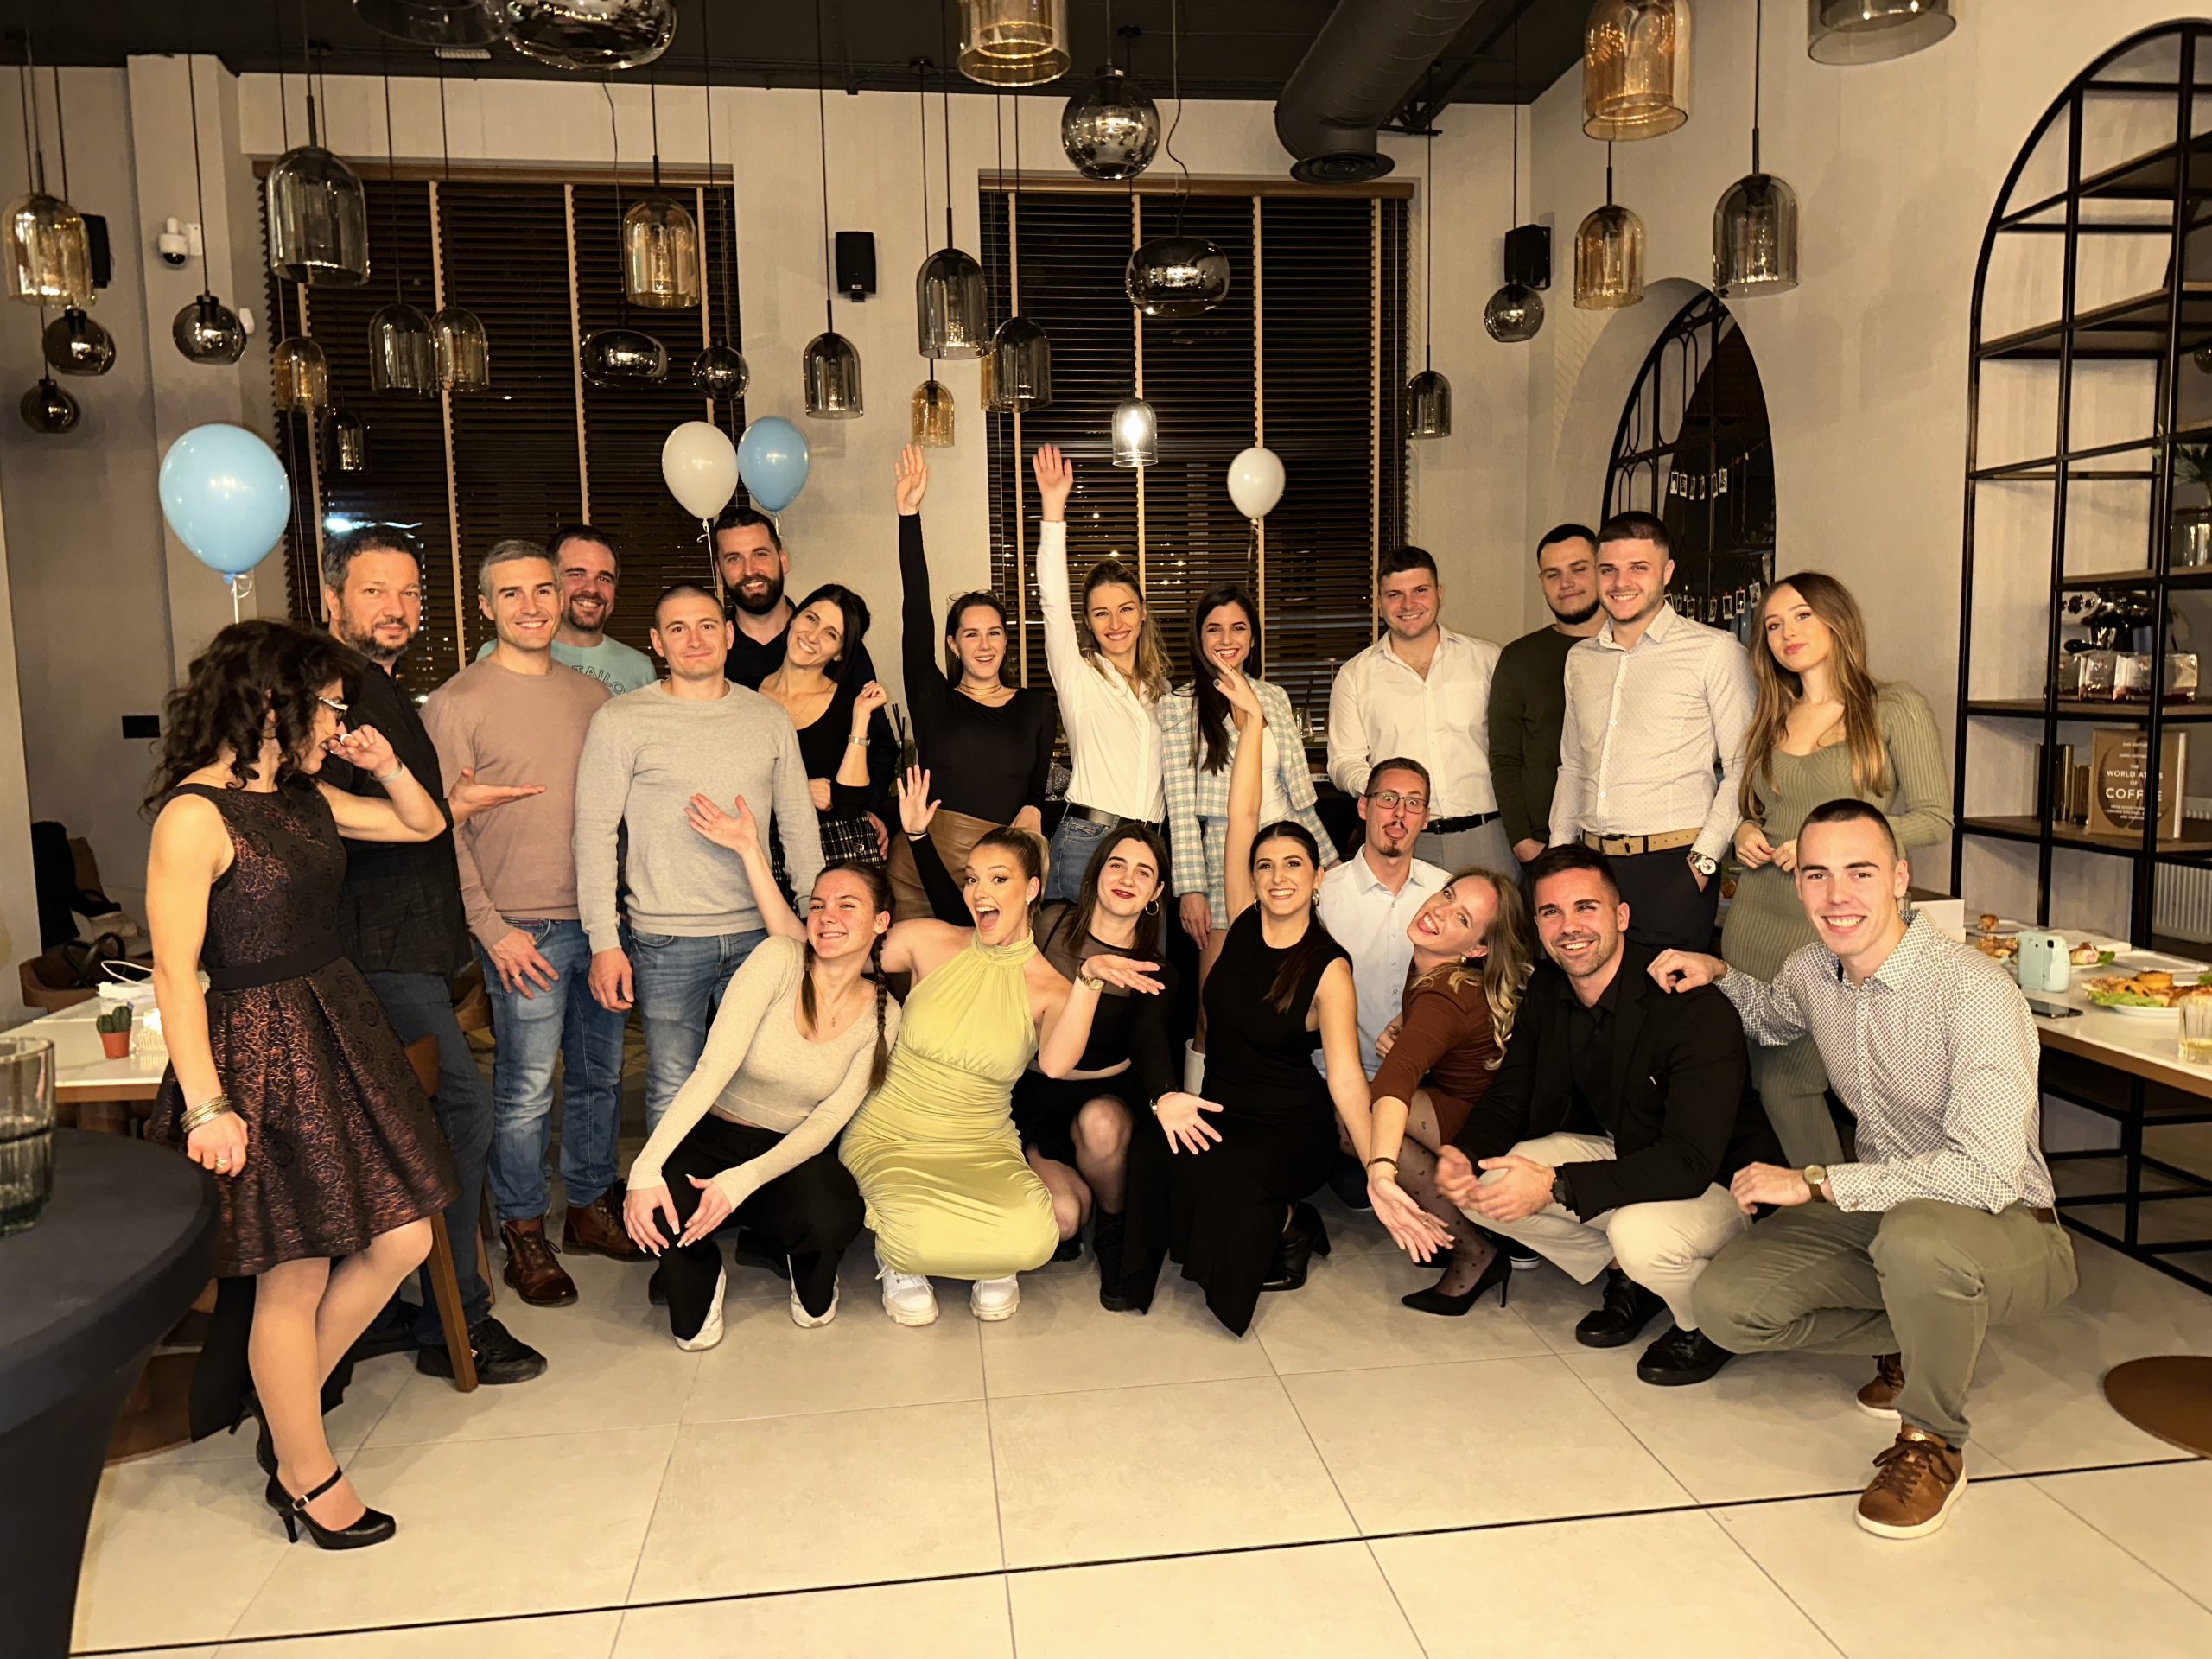
5 Years of Crystal Pigeon: A Journey of Friendship, Challenges, and Success
Time flies, doesn’t it? You’ve probably heard this phrase quite often, especially in the business world. It’s a sentiment we’ve been expressing a lot in the past month as we celebrated the fifth birthday of Crystal Pigeon. We won’t talk too much on this topic, but we feel the need to express our gratitude and…
-

Kotlin Multiplatform: Evaluating Advantages and Drawbacks for Cross-Platform Development
Kotlin multiplatform (KMP) is a technology that allows developers to write code in the Kotlin programming language that can be shared and used across multiple platforms, such as Android, iOS, web and desktop. This means that developers can write a single codebase in Kotlin and use it to build applications for different platforms, without the…
-

From Car Troubles to Deeper Connections: The Curiosity Chats Adventure
Straight from the road and filled with unexpected twists and turns, we bring you another story about one of our first projects, which helped us in the situation we found ourselves in. Our team embarked on a memorable trip to Rovinj to enjoy the Summer Sensual Dance Festival. The sun was shining, spirits were high,…
-

Preserving Cultural Heritage: Our Remarkable Journey with the European Affairs Fund of AP Vojvodina
We have a lot of stories waiting in the drawer to be told. This is just one of them, and it’s time to tell you about one of the most exciting adventures we’ve experienced, thanks to the fantastic team from the European Affairs Fund of AP of Vojvodina. They believed in us and our abilities…
-

Unleashing the Power of Jetpack Compose: A Journey into Modern Android Development
The Android development landscape is constantly evolving, and staying up-to-date with the latest trends and innovations is essential for any developer. In today’s fast-paced world, users demand seamless and engaging experiences, making it crucial for developers to leverage cutting-edge tools and technologies. Jetpack Compose is a breath of fresh air to all of those bug-riddled…
-

My Experience with Flutter: The Ups and Downs
As an Android developer, I was curious about Flutter and decided to give it a try. After spending some time with it, I’ve come to appreciate its fast development cycle, hot reload feature, and customizable widget library. However, I’ve also encountered some downsides that I think are worth mentioning. In this article, I’ll share my…
-

WAVES OF GROWTH : How we made our monthly tradition
Every successful story features a dynamic duo with their ideas awaiting their moment to shine. And as you can imagine, that was also our scenario. A few summers ago, our colleagues and Co-founders, Nikola and Marko, decided to establish a tradition that would keep them fully included in every aspect of their startup. They were…
Got any book recommendations?